
Parameters
Box Dimensions
Dimensions including finger joints (total part size)
Outer width of the box
Outer height of the box
Outer depth of the box
Material
Material thickness (e.g. plywood, MDF)
Gap between parts in the layout
Laser cut compensation (0 = none)
Fingerjoints
Classic finger joints on all edges
Target width per finger (adjusted automatically)
Minimum fingers per edge
Lid
Half-moon grip cutout radius (0 = no grip)
Clearance for smooth sliding
Milling depth of the groove (affects lid size)
Extend grooves beyond panel edges (router radius compensation)
Layout
Space-efficient arrangement instead of cross pattern
Sliding Lid Box Designer
Create wooden boxes with a sliding lid. The lid glides in grooves along the side walls and the back panel, the front panel is lower so the lid slides in from the front, and a half-moon finger pull makes opening easy.
Sliding lid mechanism
The lid glides in grooves (width = material thickness, depth = half the material thickness) on three sides. The lower front panel lets the lid slide in. Also available as an enclosed build with smooth end walls.
Half-moon finger pull
A semicircular cutout at the front edge of the lid serves as a finger pull for comfortable opening and closing.
Instant export
Export as SVG, DXF or PDF, ready for your CAM software. All parts, including grooves and finger pull, are in the flat pattern.
Usage tips
- Cutting the grooves: The red dashed lines mark the grooves. Mill them to half the material depth – do not cut through. A laser cannot mill grooves: cut the side and back walls from two half-thickness layers – one with the groove cut through, one solid – and glue them together.
- Lid clearance: 0.3–0.5 mm of clearance keeps the lid sliding smoothly. Allow a little more for damp wood.
- Material: 3–6 mm plywood works best. Cut the lid from the same material as the box so the grooves match.
Made with this tool
All makes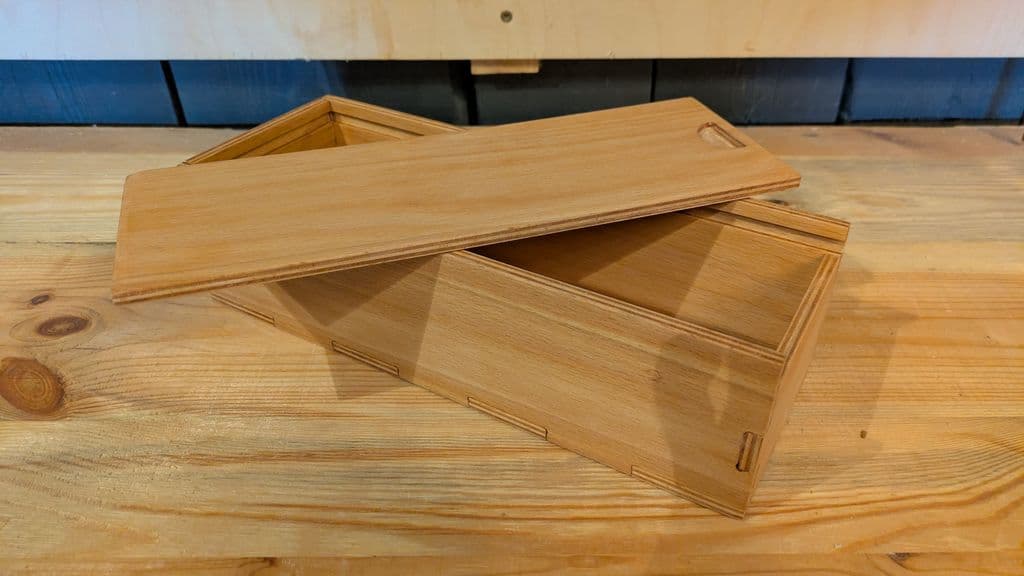
Design for free in the tool above, export as SVG, DXF or PDF. See all tools or compare plans.